How to Optimize Images for SEO (Free & Easy Guide)
Written by Habib Ur Rehman • Last Updated: November 10, 2026
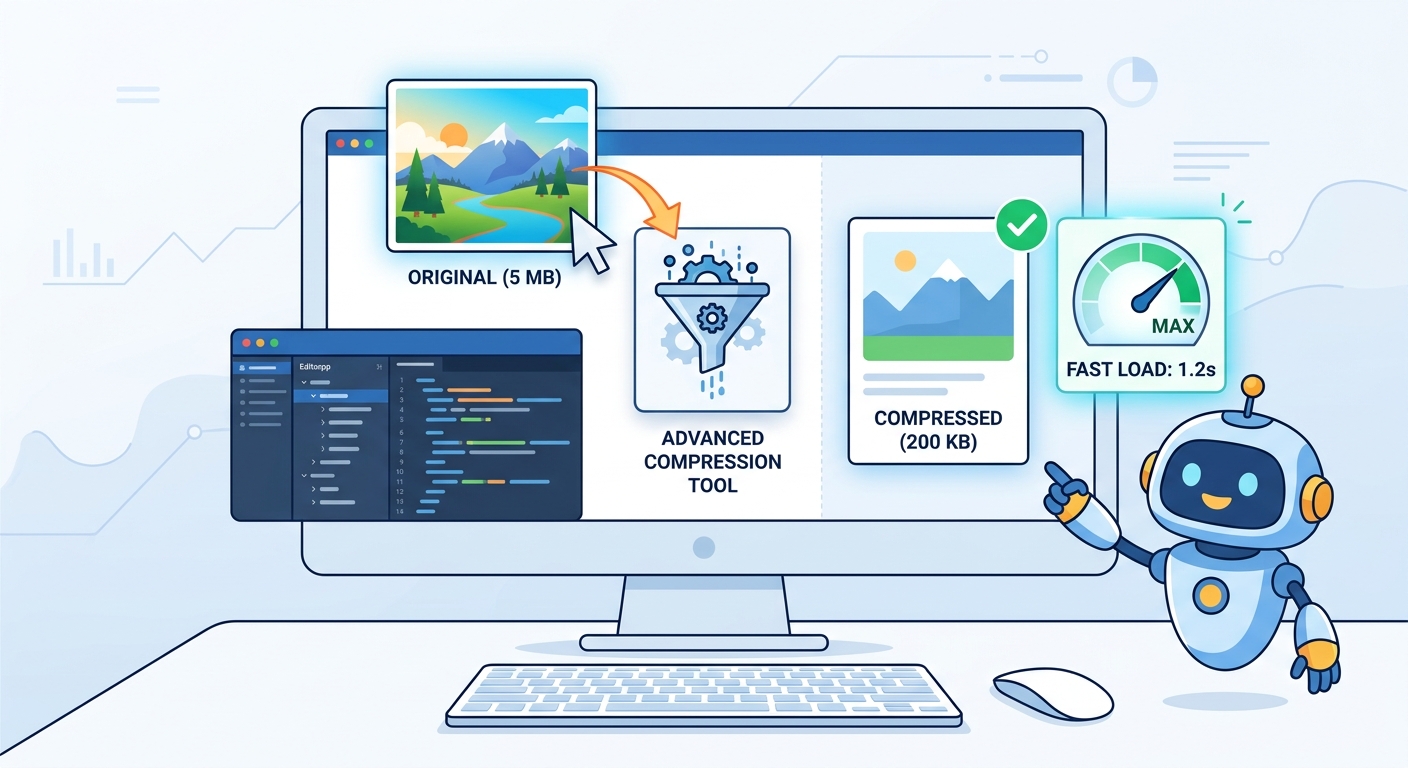
Quick Summary: To optimize images for SEO, you need to do three main things: use the right file format (like WebP), compress the image to reduce file size, and add descriptive alt text. Optimized images load faster, which improves your Google ranking and user experience. You also need to use descriptive file names and add responsive image code so your images look good on both mobile and desktop.
Hello! If you have ever uploaded a 5MB photo to your website and then wondered why your page takes 10 seconds to load, you are not alone. This is one of the most common mistakes in SEO. Large images are the number one reason for slow websites.
Google has confirmed that page speed is a ranking factor. If your website is slow, you will not rank high. But the good news is that image optimization is not hard. You do not need to be a developer or a designer. You just need to follow a few simple steps.
In this guide, I will show you exactly how to optimize images for SEO. We will cover file formats, compression, alt text, file names, and responsive images. I will also show you how to use our free Image Compressor tool to shrink your images without losing quality. Let's get started.
What is Image Optimization for SEO?
Image optimization for SEO is the process of making your images smaller in file size and more readable for search engines. It involves choosing the right file format, compressing the image, using descriptive file names, adding alt text, and ensuring the images load fast on all devices.
When you optimize your images, you are doing two things: you are helping Google understand what your image is about, and you are making your website faster. Both of these factors are important for ranking high in search results.
Why Does Image Optimization Matter for SEO?
You might be wondering, "Are images really that important for SEO?" The answer is yes. Here is why:
1. Page Speed (Core Web Vitals)
Google uses Core Web Vitals as a ranking signal. One of the main Web Vitals is LCP (Largest Contentful Paint). This measures how long it takes for the largest element on your page to load. In most cases, the largest element is an image. If your image is 4MB, your LCP will be slow, and Google will penalize you. If you compress that image to 200KB, your LCP will be fast, and Google will reward you.
2. Image Search Traffic
Google Images is a huge search engine. Millions of people search for images every day. If you optimize your images with descriptive alt text and file names, your images can appear in Google Images. This brings you extra traffic for free. If you do not optimize, your images will never be found.
3. User Experience
If your website takes 8 seconds to load because of large images, users will leave. High bounce rates tell Google that your site is not good, which lowers your rankings. Fast websites make users happy, and happy users stay longer, which improves your SEO.
Step 1: Choose the Right Image File Format
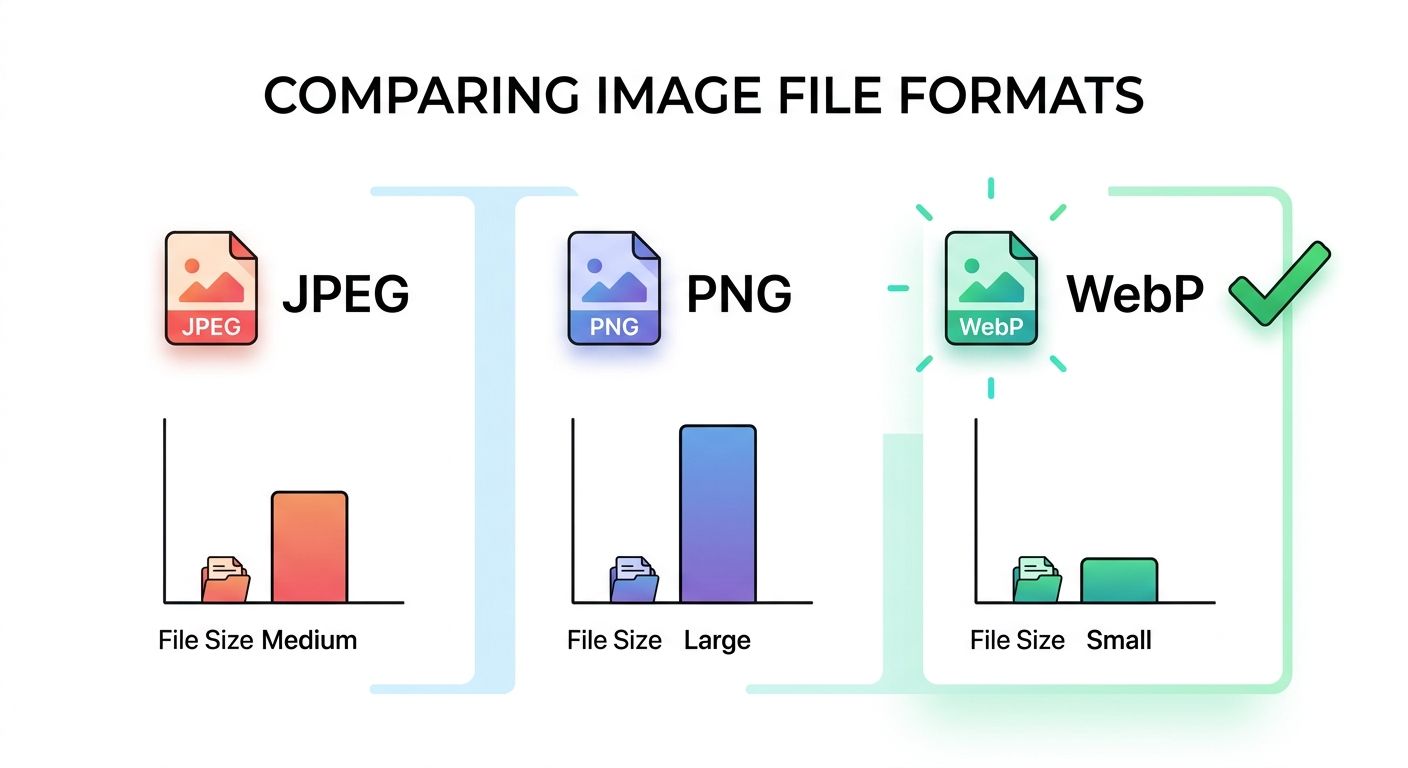
The first step in image optimization is choosing the right file format. There are many formats, but only three matter for SEO:
| Format | Best For | Pros | Cons |
|---|---|---|---|
| WebP | All types of images | Small file size, high quality, supports transparency | Older browsers might not support it |
| JPEG | Photographs | Good compression, widely supported | No transparency, loses quality when compressed |
| PNG | Logos, icons, graphics | Lossless quality, supports transparency | Very large file size, bad for SEO |
My Recommendation: Use WebP for almost everything. It is the modern standard. If you cannot use WebP, use JPEG for photos and PNG only for logos and icons. Never use PNG for large photographs. It will make your page very slow.
Step 2: Compress Your Images (Without Losing Quality)
Once you have the right format, you need to compress the image. Compression reduces the file size. You want your images to be under 200KB, ideally under 100KB.
The easiest way to compress images is to use our free Image Compressor tool. Here is how to use it:
- Go to our Image Compressor page.
- Drag and drop your image into the tool.
- Use the quality slider. A setting of 70% to 80% is usually perfect. You will not see any difference in quality, but the file size will drop dramatically.
- Click "Compress Image" and download the smaller file.
You can also use tools like TinyPNG or Squoosh. They are free and work well. But our tool is faster and does not require you to upload your images to a third-party server.
Step 3: Use Descriptive File Names
This is a simple step that many people ignore. When you save an image, give it a descriptive name. Do not use "IMG_1234.jpg" or "photo.png". Use a name that describes the image.
For example, if you have a picture of a golden retriever playing fetch, name it golden-retriever-playing-fetch.jpg. Use hyphens between words, not underscores or spaces. Google reads file names to understand what the image is about.
Step 4: Write Alt Text for Every Image
Alt text (alternative text) is a short description of an image. It is written in the HTML code and is read by screen readers for visually impaired users. It is also used by Google to understand the image content.
Here is an example of how to add alt text in HTML:
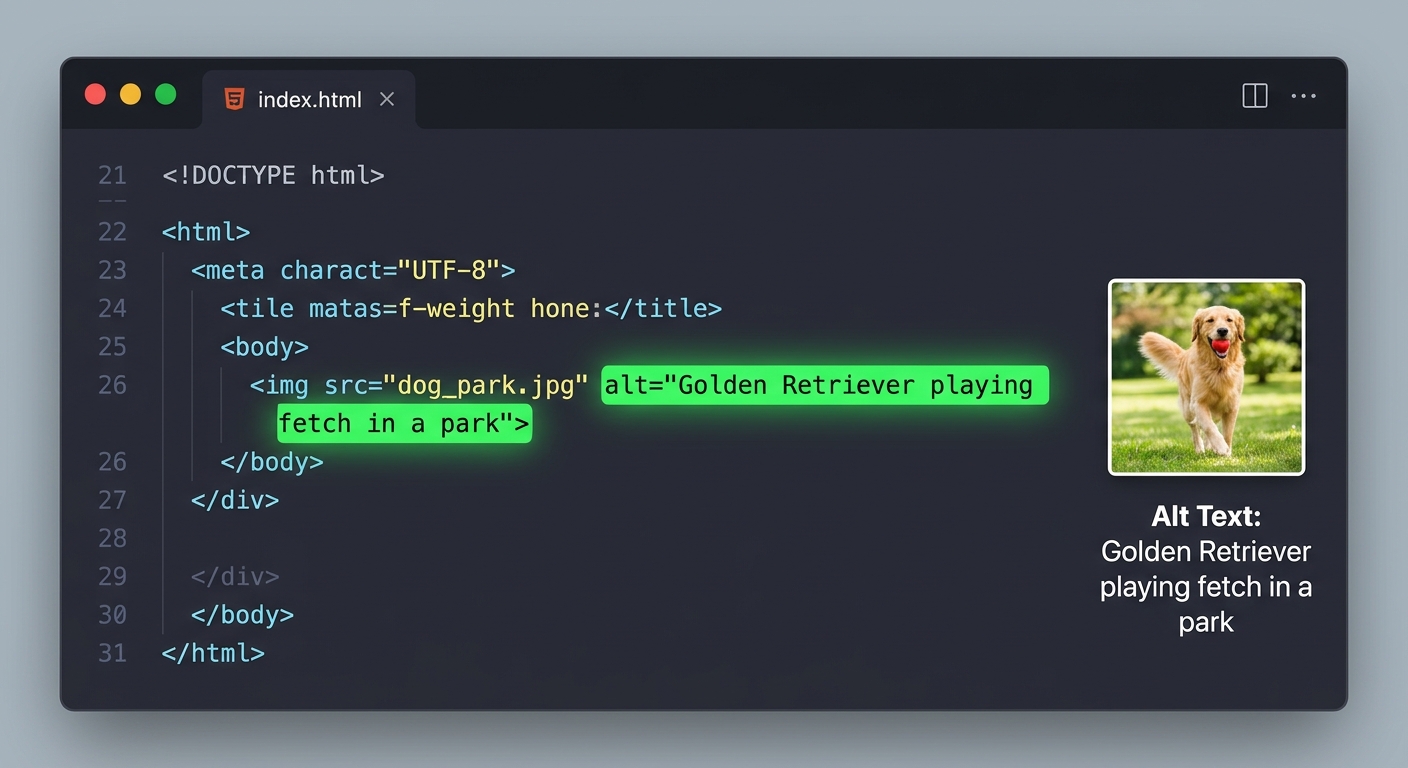
<img src="/images/golden-retriever-playing-fetch.jpg" alt="Golden Retriever playing fetch in a sunny park">Rules for writing good alt text:
- Be descriptive but short. Aim for 5 to 15 words.
- Do not stuff keywords. Write for humans, not robots.
- If the image is purely decorative, you can leave the alt attribute empty (alt=""). But for all content images, write a description.
- Do not start with "Image of" or "Picture of". The screen reader already knows it is an image.
Step 5: Add Responsive Image Code (srcset)
Responsive images mean that your image will resize automatically depending on the screen size. If someone is on a mobile phone, they do not need to download a 2000px wide image. They can download a smaller version.
Modern HTML uses the srcset attribute to do this. Here is an example:
<img src="small.jpg"
     srcset="small.jpg 480w, medium.jpg 800w, large.jpg 1200w"
     sizes="(max-width: 600px) 480px, (max-width: 1200px) 800px, 1200px"
     alt="Description of image">
This tells the browser to choose the right image size for the user's screen. This is very good for mobile users because it saves their data and loads the page faster.
Step 6: Use Lazy Loading
Lazy loading means that images are only loaded when they are about to be seen by the user. If you have a long article with 20 images, the browser will only load the first two images. The rest will load as the user scrolls down.
You can enable lazy loading by adding a simple attribute to your image tag:
<img src="image.jpg" alt="Description" loading="lazy">This is a small change that makes a big difference in page speed.
A Note from the Developer
"When I built my first website, I uploaded every image at full resolution. I thought 'high quality' was always better. But my page took 12 seconds to load. Google Search Console showed my Core Web Vitals were all red. I compressed my images using our Image Compressor tool, renamed the files, and added alt text. Within two weeks, my page speed score jumped from 30 to 90. And my rankings improved too. Never skip image optimization." — Habib Ur Rehman
Common Image SEO Mistakes to Avoid
- Uploading uncompressed images: This is the biggest mistake. Always compress before uploading.
- Using PNG for photos: PNG files are huge. Use JPEG or WebP for photographs.
- Missing alt text: This hurts accessibility and SEO.
- Keyword stuffing in alt text: Do not stuff keywords. Write naturally.
- Not using responsive images: Mobile users are downloading huge images they do not need.
- Not using lazy loading: Your page loads all images at once, which slows it down.
Frequently Asked Questions
What is the best image format for SEO?
WebP is currently the best format for SEO because it offers high quality at very small file sizes. JPEG is also good for photographs. Avoid PNG for large photos.
What is alt text in images?
Alt text (alternative text) is a short description of an image. It helps search engines understand the image and is read by screen readers for visually impaired users.
Does image optimization help SEO?
Yes. Optimized images load faster, which improves your Core Web Vitals (especially LCP). Google uses page speed as a ranking factor. Also, images can appear in Google Image Search, bringing extra traffic.
How do I compress images for my website?
You can use our free Image Compressor tool. Drag and drop your image, set the quality to 70-80%, and download the smaller file.
What size should my images be for SEO?
Aim for a file size under 200KB. The actual pixel width should match the maximum size your website will display. For a full-width image, 1200px is usually enough. For a small thumbnail, 300px is enough.
Conclusion
Image optimization is one of the easiest and most impactful things you can do for your website's SEO. It improves page speed, which helps your Core Web Vitals. It improves user experience. And it helps your images appear in Google Image Search.
Remember the three key steps: use the right format (WebP), compress your images, and add descriptive alt text. Also, use descriptive file names, responsive image code, and lazy loading. These small changes will make a big difference.
If you want to check how your website is performing after optimizing your images, use our Speed & Vitals Checker to see your Core Web Vitals score. Happy optimizing!
Explore More Free SEO Tools
Written and reviewed by: Habib Ur Rehman, Full-Stack Web Developer & SEO Specialist.
Last Updated: November 10, 2026.